Tuesday, October 11, 2011

Weekly Saturday Cleaning Schedule


I don't know about you but cleaning is not my favorite thing to do. I often get overwhelmed with the clutter and would rather just not do it. Well that is not an option. With little kids you have to keep thing clean and picked up.  I like to keep things picked up, but Saturday is when my family does the real cleaning. So I created some fun little cards to keep us organized and I can get the whole family involved in the cleaning. I made double of each just in case one gets lost or ruined during cleaning. I cut out each card and glued them to colorful construction paper. I then took them to my local Lakeshore Learning and laminated them. Then you can keep them clean while you clean. I punched a hole in each corner and I keep them on a circle binder clip. I can keep them with my weekly cleaning supplies and pass them out to each person in the family. My husband and I take turns helping our five year old do her chores and lists help keeps my husband on task. 


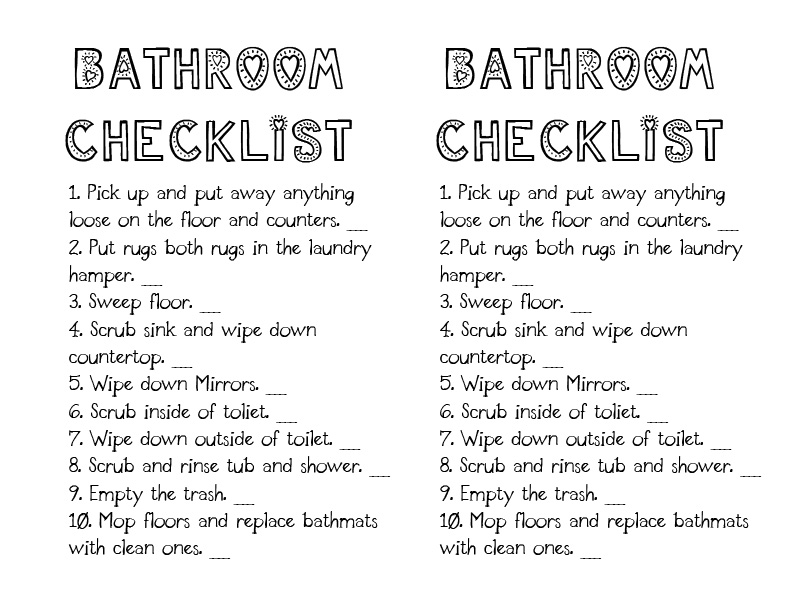
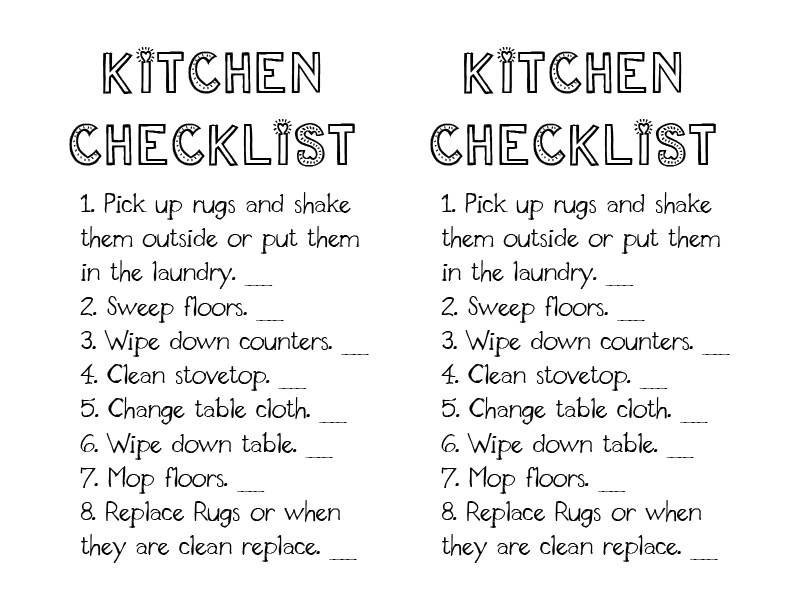
Enjoy, and happy cleaning!


Sunday, October 9, 2011

Fall is here again


I love this time of year. The leaves are turning different colors and the weather is changing. It is apple and pumpkin season. In our little family it is a tradition to visit the pumpkin patch every year. So to gear up for our visit to the patch I created these two little worksheets. Get out your red and orange paint or you can use stamp pads. Have your child use his or her finger prints to make apples and pumpkins. This is a great way to get your kids counting and doing math.


Happy Fall!

Thursday, August 25, 2011

Rio Bird Play Wings


My daughter just adores the new movie Rio. She pretends to fly around the house and squawks like a bird. So I decided to make her some wings. She was so excited about them she wore them for three days straight, yes even at night she slept with them. They are very easy to make and I even made a spare pair for when her friends visit. My daughter and our little neighbor played Rio for hours the other day. Thanks to these fun little wings they were really able to pretend in style.

Using two layers of flannel. You can by it by the yard at your local fabric store. I measured my daughter wing span, she is five. Her wing span and her little 5 year old friends was about 42 inches. 

So I folded the fabric in half, and then I drew on it with some sidewalk chalk. You can see that it took a few tries to get them looking how I wanted them to look. The chalk comes right off, draw till you get what you want.


I then cut them out. See so easy. When sewing the two fabrics together you just sew around the top and bottom edges. I did not sew around the feathers. I just sewed on across the top of them so that they would flow and look like feathers. On the red ones I made I cut different colors of separate pieces of felt and stuck them in between the two layers feathers in the spaces. 

I then added 1/4 inch elastic to arms and hand areas. 


Here are the red rainbow ones I made. They look like a parrot. 

Enjoy!

Monday, May 9, 2011

Brunch Breakfast Pizza


I made this yummy recipe for a family brunch and it was a great success. The Pizza dough recipes is amazing. Every Monday night my family has family night. We eat pizza and play games. So this recipe is the one I use anytime I need a really good pizza crust. It is easy and very yummy!

Dough:

2 Cups Flour
1 Cup Warm Water
1 1/2 Tbs. Sugar or Honey
1 tsp. Onion Powder
1 tsp. Garlic Powder
1 Tbs. Yeast

Topping:

2-3 Eggs
2 Cups Mozzarella Cheese

In a kitchenAid mixer, with a dough hook, add flour, sugar, onion powder, garlic powder, yeast. Turn on low and slowly mix in warm water. Slowly increase speed. Mix on higher speed for 4 mins. Remove bowl and cover with plastic wrap. Let stand in a warm place 30 mins. When dough has doubled in size, punch down. On a large pizza tray roll out dough. I flatten it with my hands and pinch the edges to form a high crust.

In a bowl crack eggs and scramble with a fork. Pour egg on to crust, make sure it covers the whole crust. Top with cheese and any kind of topping you like. You can add breakfast sausage, bell peppers, mushrooms, onions, or olives. What ever you prefer. You can also make an oval pizza on a cooking sheet if you do not have a pizza pan.

Enjoy!


Sunday, May 8, 2011

Kale Chips


Yesterday while shopping at my favorite local farmers market, I came across some yummy new products that they just started stocking. They came in lots of different flavors and looked very scrumptious! Sadly they were around seven dollars for one tinny tiny bag of them. What am I talking about.... Kale Chips! Good thing is that I have been making kale chips for years. So here are two super yummy recipes and I hope you try them. They might sound strange but they are better for you. With kale chips you don't have to feel guilty for eating a whole tray of them.

There are lots of different recipes from baking them in your oven, to dehydrating them. I have a dehydrator so I almost always make a batch before I go to bed and dehydrate at night. Good thing is that they do not require a dehydrator. You can simply bake them in your oven.


Super Easy Kale Chips


1 bunch curly kale
  • 1 tsp. olive oil
  • pinch of salt


Preheat oven to 350, line cooking sheet with parchment paper. Rinse and dry kale. Remove thick middle by hand or with a knife. Cut leaves in to bite size pieces. In a bowl add olive oil, salt and kale. Mix till kale is coated. Put on cookie sheet. Bake till crispy. About 10 min.


Vegan Nacho Cheese Kale Chips


1/2 Cup Raw Cashew Nuts (soaked in water for a few hours, then drain)
1 Red Bell Pepper
1/2 Cup Lemon Juice
1/4 Cup Nutritional Yeast (find at any health food store)
1/4 tsp. Cayenne powder
2 cloves of garlic
2 Tbs. Yellow light miso paste (found near tofu)
1 Tbs. Apple Cider Vinegar
2 Bunches of Curly Kale


In a blender at everything BUT the Kale. Blend till smooth. Rinse and dry kale. Remove thick middle by hand or with a knife. Cut leaves in to bite size pieces. In a bowl pour blended mixture of the kale. Mix with hands fully coating every piece. Now you can either dehydrate this for 6 to 8 hours or you can put it on a wax covered cookie sheet in your oven. To make you oven in to a dehydrator you put it at the lowest heat, and bake till kale is crunchy. I will prop the door open a little.


Enjoy!
Related Posts Plugin for WordPress, Blogger...