Wednesday, September 29, 2010

Rag Dolly


I have been going through some of my fabric scraps lately trying to think of some fun projects. I have a few remnant pieces of fleece that I have been wanting to use. This cute little rag doll was made from a cream polar fleece, some black thread, polyester fiberfill and some brown yarn. I stuffed her with the extra polyester fiberfill from my fabric pumpkins I made last week. I think she turned out pretty well. I did do a lot of hand stitching on her and it took me a good two day to complete her. Her little face I hand stitched and all her hair was carefully stitched all over her head. All in all she was pretty easy to make. I drew her pattern on a piece of 17x11 construction paper. The pattern I provided below will need to be cut and taped together. Her little dress was just something I hand stitched together, nothing fancy, just a basic dress pattern. The little dress still has raw edges and I think I might keep it that way.


I hope you enjoy this cute little rag doll. Please feel free to leave comments. I would also love to see if anyone uses the pattern and what there rag doll ended up looking like.


Monday, September 27, 2010

Muffin Tin Monday


I have recently discovered Muffin Tin Monday. This is a fun way to get those pick eaters to try new foods in small portions. Plus your little one can have a verity of options as well. I have a very pick eater, so I thought this would be a great way to introduce new foods in to my daughters diet. Plus it looks really fun. The Muffin Tim Mom has themes for every week, and lots of moms join in on a link party and share what they created as well. Here is my first Muffin tin. I hope you enjoy and possibly participate in the next one.


Top Left to Right: Pretzels, Heart Shapes Pb&J Sandwiches, and cut up String Cheese.
Bottom Left to Right: Apple slices, Heart Shapes Pb&J Sandwiches, and Strawberry Yogurt w/sprinkles.

Sunday, September 19, 2010

Fabric Pumpkin Tutorial


I have these cute little fabric pumpkin scattered around my house. They are the perfect decoration when you have little kids that like to touch everything. They can even be used in a fun toss game with your little one. Toss the pumpkins in to a small tub or toss them back and forth. Either way you toss these little soft pumpkins will help you child improve there hand eye coordination. You could even play hot and cold with your older kids. Hide the pumpkin in your house and tell your child if they are hot when they are close to it and cold when they are far from it. These pumpkins are sure to not only make your house cute for the holidays, but also entertain the littlest of kids. 


What you need:
Orange Fabric
Green Fabric
Polyester Fiberfill
needle and Orange thread
Sewing machine

These are very easy to make. First you will need two different fabrics. A green and an orange. You can experiment with lengths and sizes. Depending on how you cut the fabric you can get different sizes and shapes. In this tutorial I cut the green fabric 4in x 2 1/2in. The orange fabric is cut to 16in x 10in.
 
Fold orange fabric in half, with right sides together. Sew one straight stitch down raw salvage ends.

Same with green fabric fold in half and sew an "L" shape, top edge and side edge, leaving bottom open for stuffing. Turn stem right side out and stuff stem with polyester fiberfill.

Hand stitch and gather the top of your orange fabric, with fabric inside out. 

Turning green stem upside down with stuffing part facing up. Gather fabric around it. To secure, wrap thread around and around the top. Then stitch going all the way through the stem a few times.

Turn right side out and stuff with polyester fiberfill.

stitch across bottom.

Pull tight and stuff raw edges inside. Sew and secure.

Re-thread your needle with a yard length from needle to knot. The string is going to pucker your pumpkin and make it look like a pumpkin. Go from bottom to top, then from top to bottom till you reach desired pumpkin shape. I have about five lines on mine.


Enjoy! Thanks for looking!

Please feel free to comment below.


Saturday, September 18, 2010

Mr. Bottle Bones


We finally finished our Mr.  Bottle Bones today. I have been collecting all our milk jugs for some time now. This cute recycled skeleton was found in the Halloween issue of Family Fun. Every year I buy there Halloween addition for all there great ideas. This year Mr. Bottle Bones is one of my favorite ideas. He is made entirely of milk jugs and standing he is a little taller than my four year old daughter. Check out your local magazine racks for this magazine you will not be disappointed.


Monday, September 13, 2010

Go Away, Big Green Monster! Felt Story


This is one scary monster! Make your own Big Green Monster felt story and teach your child about there face. This interactive project will make reading this story really fun for your little one. I let my daughter help me build the Big Green Monsters face while I read this adorable book. Each page build a part of the monsters face. Here is a simple pattern to help you make your own Green Monster.


Please feel free to post any comments below. Enjoy!

Wednesday, September 8, 2010

Close Pin Horses


This activity covers an array of skills your child should have mastered before starting kindergarten. This teaches pincer grasp which is vital in learning how to write. Most children do not have the strength yet to do most pinching tasks, this will exercise those little fingers and get them strong to start writing. Close pins do not only teach this simple skill, but they also take a lot of concentration and finger balance to master. Not only will your child learn how to pinch, but they will learn colors, and matching as well. It can also be adapted to other animal. The possibilities are endless.


I colorized my horse by printing them on to construction paper. They are laminated and I painted the close pins with matching non toxic tempera paint. You can also color the close pins with markers or crayons, but I found that paint seems to last longer. I lined the close pins up on the rim of a plastic cup, weighted the cup down with a few rocks, then painted and let dry.


If you have any ideas or comments please feel free to leave them below. 
Thanks for looking!

Tuesday, September 7, 2010

Busy Binder


I found this idea on "A Girl and a glue gun." When I saw that she had hole punched her file folder activities and put them into a binder, I thought it was brilliant. I have several file folders filled with lots of different activities. They usually sit in my cupboard untouched, because every time I get them out pieces go missing. I tried storing the extra pieces in ziplock baggies but those also seem to go missing. 

I went to Wal-Mart and got some clear plastic storage pouches for 25 cents and a 2 inch binder for 2 dollars. In the front of the binder I added a pouch with crayons and a spiral notebook for coloring. I then hole punched all my file folder game, and at the beginning of each game put a clear pouch to hold all the loose pieces. My daughter spent about an hour playing with this after I was done. This is a great idea for long travel in the car, quiet time, or church. Here are the two file folder books I used to create these activities.


Both of these are wonderful and carry a variety of skill levels. They feature colors, numbers, counting, matching and so much more. My favorite activity out of  the center games book is the fine motor dinosaurs, were you have to lace and match the dinosaurs.


Sunday, September 5, 2010

Preschool Resource Books

I have several Preschool books that I love. Not only do I use online resources but I often use resources I have at home in books. Of course when I can't find what I need in either, I create my own, but I hope this helps anyone who is wondering where to start. Most of these books are by a company called Carson-Dellosa Publishing, there illustrations are wonderful and they publish some of my favorite preschool resources.

Giant Book of Preschool Activities By Carson-Dellosa


This book is so adorable. I love the illustrations, the pictures are really fun and simple. They have tons of ideas for about 26 themes. I can't say much more than, I love this book.

Patterns By Carson-Dellosa

Here is my new book that I just got today. It has just been released and it is wonderful. It is by the same company as the "Giant book of Preschool Activities." This book is a pattern book. Every pictures is ready for you to copy and color. You can use these fun patterns with really any theme. Make a coloring book or shrink them down to use in a fun game. It really is a wonderful and I can't wait to use it.

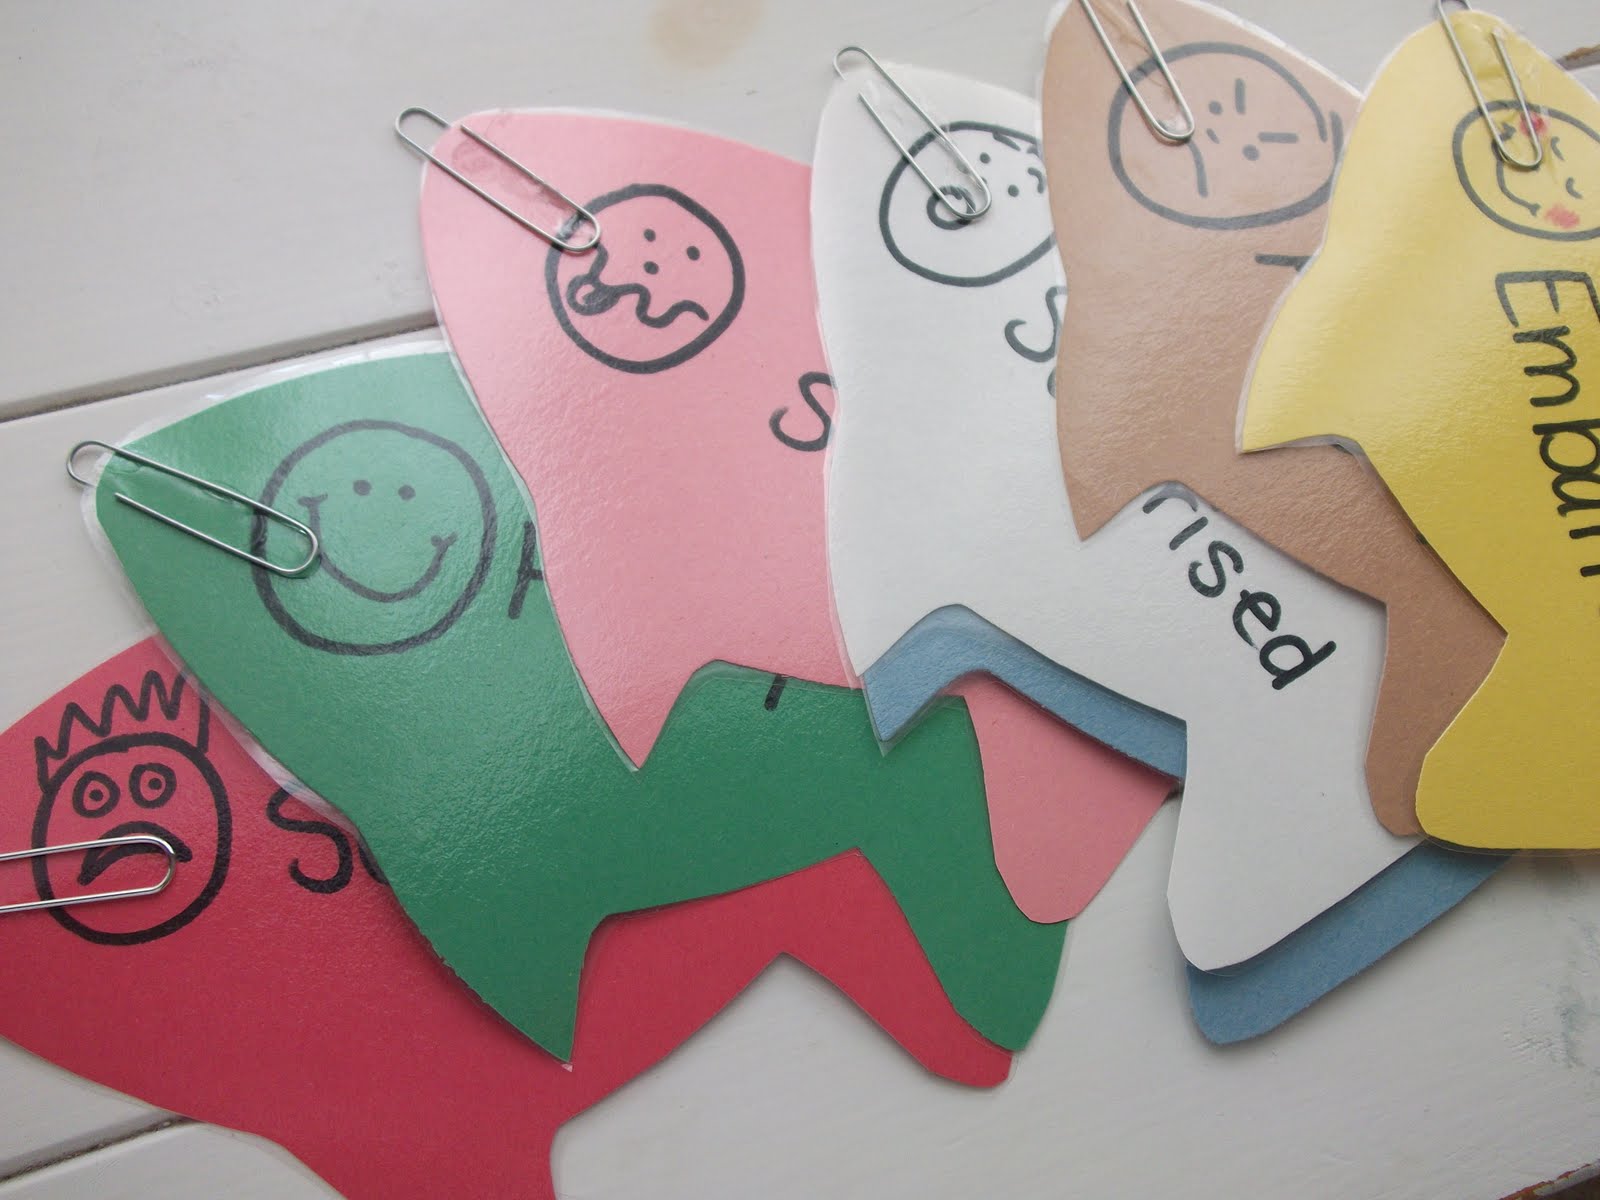
File Folder Games By Carson-Dellosa

This book is also by the same company as the first two books. They really make wonderful resources. These file folder games keep my daughter busy for a long time. I have a church binder I have put together with file folder games, and it entertains my daughter all through the first hour of church. That of course will be another post, that is coming soon. 

Mini work books By Carson-Dellosa

I have the dot to dot and the scissor skills books. They are great at teaching early writing skills and cutting skills. Both of these will prepare your little one for kindergarten. I copied and laminated these in to a binder. I keep a dry erase marker at the front so my daughter can complete them and then I can clean them off to use again.

Year-Round Early Childhood Themes

This book might not have as many themes as the others but it is an excellent book. It has wonderful illustrations and lots of great ideas. It covers language development, math, sensory, motor skills, art, cooking and more.

The Complete Resource Book: An Early Childhood Curriculum


This giant book is okay. It has a lot of good ideas and a lot of themes. I like how it is organized. I have used it for ideas, but my favorite part of this book is the index. There index is full of pictures, recipes, games, and so much more. It is worth getting for the awesome index.

Totline Mini Art and Science Books


I have about 9 of these mini Totline Books. Each has about 15 pages that are full of activites for Art and Science. Each Art book addresses simple tools like; crayons, stamps, stickers, tissue paper, playdoh, glue, yarn and more. Each science book shows fun activities with simple tools like; water, bubbles, bugs and much more. I love how basic they are. I can take the simple tools they teach an apply them to any theme or activity.

All together these book give me tons of wonderful ideas. Feel free to comment below or suggest your favorite early education resource book.


Saturday, September 4, 2010

All About Me: Unit 2

We are starting a new theme next week. We are going to learn all about ourselves. We are going to discover different feelings, learn about our body, and explore our five senses. Here are some fun activities we are going to do, plus a lot more to come.

Books

Go Away, Big Green Monster! This book is very colorful and each page builds a part of the big green monster. This book is fun when learning about the face. The book slowly builds a monster face and then slowly reconstructs it. This is a perfect book to use with a felt board with. You can letting your students help you build the face. Very cute and very simple even for the littlest of children.
Get up and move with this fun book. Your students will love to try to move like the animals in this book. Very easy reading even for little ones and beautiful pictures.


 This book is also easy and simple to read. Five senses seen from a little kids point of view. Pictures illustrate the fives senses well, your students will like and name objects in this book easily. I made these cards below to go with the book, so your students can hold them or you can use them as a visual aid while you read.

Activities

Body Part Bingo


This bingo game was so easy to make. I found these wonderful cards in a preschool book called "The Complete Resource Book: an early childhood curriculum." It has a wonderful array of ideas and a great picture index.

Fishing for Feelings and Body Parts


When shopping at Lakeshore Learning, I came across this fun fishing poles. I use them all the time. They are  great at teaching hand and eye coordination skills. With this lesson I simple drew and wrote different body parts and feelings of several fish cut them out, laminated them and hot glued some paper clips to the mouth area. I filled a large shallow plastic bin with shredded blue tissue paper, added the fish and viola a fishing game. Here is the pattern below so you can make one too.

We are also going to learn about different feeling and our five senses. Here are some cute things I have drawn for our circle time lesson. I have colored, cut, laminated and mounted these on to popsicle sticks. I know I use a lot of popsicle sticks. It sounds funny but I find that it is easier for the children to hold and they really like it. So trust me when I say, no matter how old you are, you like things on popsicle sticks. 


Related Posts Plugin for WordPress, Blogger...